
Nail Art
Red, White & Boom! 9 Must-Try 4th of July Nail Designs
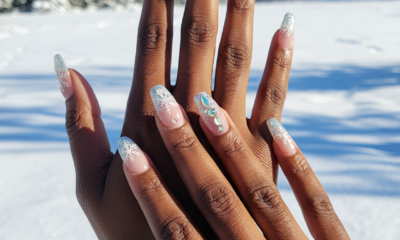
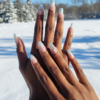
The smell of barbecue is in the air, fireworks are on sale, and everyone is planning their red, white, and blue outfits. That’s right, the Fourth of July is just around the corner! And what better way to complete your festive look than with some dazzling 4th of July nail art?
Forget the basic block colors – this year, let your nails be a mini celebration all on their own. Whether you’re a nail art newbie or a seasoned pro, we’ve rounded up 9 fantastic 4th of July nail design ideas that you can easily recreate at home. We’ll even guide you on how to do it and provide handy Amazon links for all the polishes and tools you’ll need. Let’s get those nails sparkling!
Getting Started: Your DIY Nail Art Toolkit
Before we dive into the designs, let’s make sure you have the essentials. You can find all of these on Amazon:
- Base Coat: Protects your nails and helps polish adhere better
 .
.
- Example: OPI Natural Nail Base Coat
- Top Coat: Seals your design and adds shine.
- Example: Seche Vite Dry Fast Top Coat
Red Nail Polish: A classic patriotic hue.- Example: essie Nail Polish – Really Red
- White Nail Polish: Essential for many designs.
- Example: OPI Nail Lacquer – Alpine Snow
- Blue Nail Polish: Complete the patriotic trio.
- Example: China Glaze Nail Polish – Royal Navy
- Thin Nail Art Brush: For creating fine lines and details.
- Dotting Tool Set: For creating perfect dots of various sizes.
- Nail Art Striping Tape: Helps create clean lines and geometric designs.
- Nail Polish Remover: For any accidental smudges.
- Example: Cutex Nourishing Nail Polish Remover
- Cosmetic Sponges (Wedge Shape): Useful for gradient effects.
- Example: BEAKEY Makeup Sponge Set
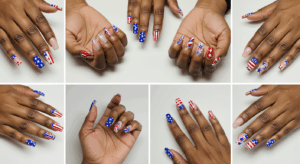
9 Dazzling 4th of July Nail Design Ideas to Try at Home:
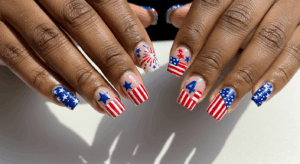
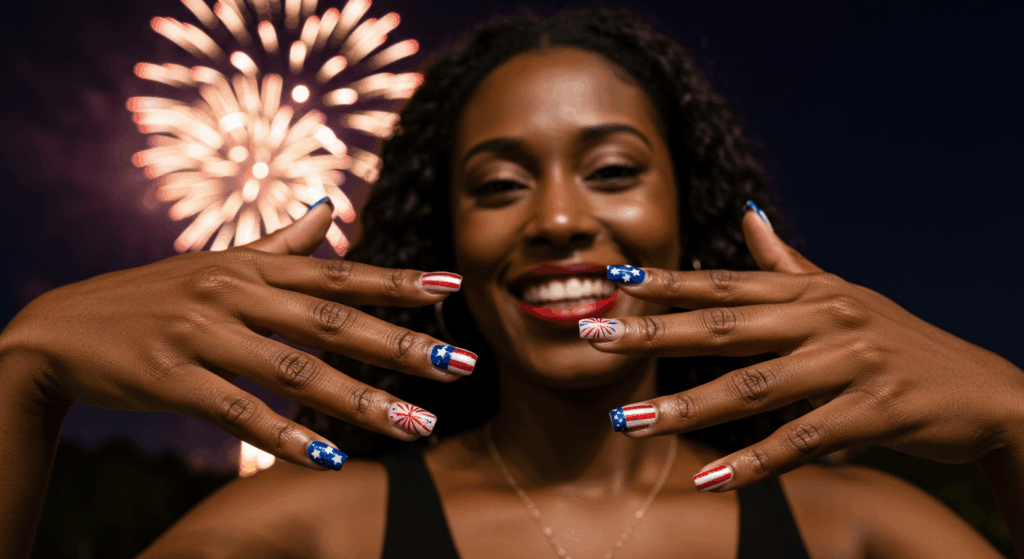
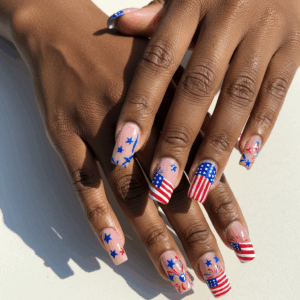
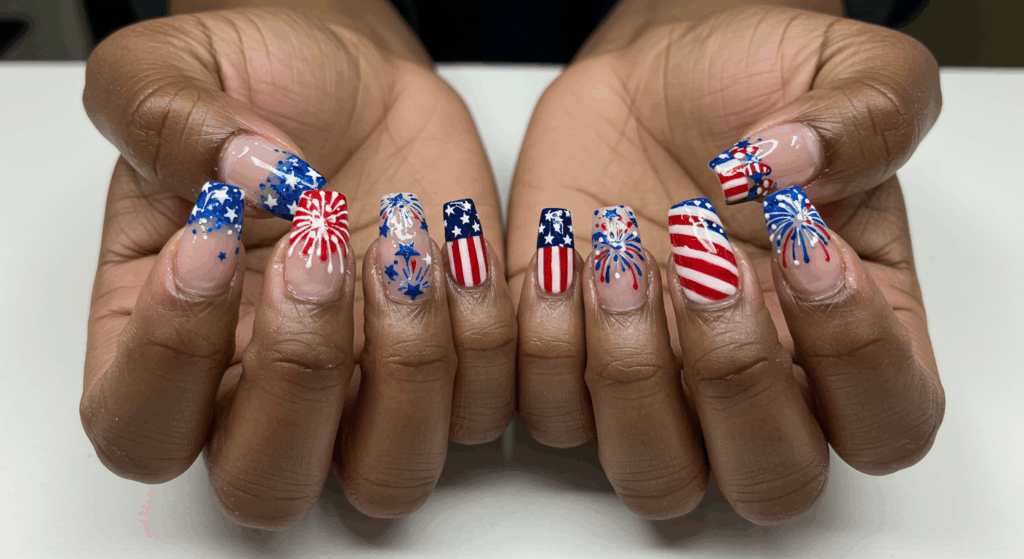
- Classic Stars and Stripes:
- How to: Paint all your nails with a base coat. On a few nails, paint alternating red and white vertical stripes using a thin brush. On the remaining nails, paint a blue base and use a small dotting tool or a thin brush with white polish to create star shapes. Finish with a top coat.
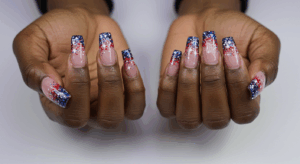
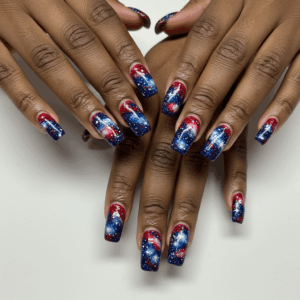
- Glittering Galaxy:
- How to: Apply a dark blue or black base coat. Once dry, use a cosmetic sponge to dab small amounts of silver and red glitter polish randomly across your nails. Add a few white dots for stars. Seal with a glitter top coat for extra sparkle.
- Glitter Polish Examples: Beetles Gel Polish – Silver Glitter, Modelones Glitter Nail Polish Set
- Red, White, and Blue Gradient:
- How to: Paint your nails with a white base coat. On a cosmetic sponge, apply stripes of red, white, and blue polish next to each other. Gently dab the sponge onto your nails, starting from the cuticle and moving towards the tip. Repeat for desired opacity. Clean up any excess polish around your nails and finish with a top coat.
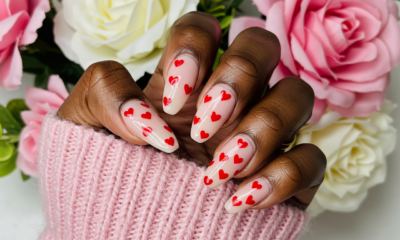
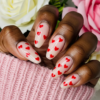
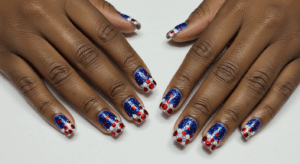
- Polka Dot Patriotism:
- How to: Choose a base color (red, white, or blue). Once dry, use a dotting tool and contrasting colors to create polka dots all over your nails. For example, white dots on a red base, blue dots on a white base, or red dots on a blue base. You can even mix and match colors on different nails. Finish with a top coat.
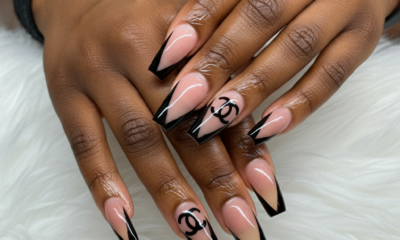
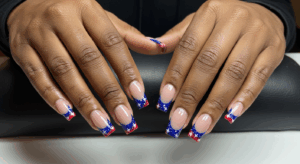
- Starry French Tips:
- How to: Apply a nude or clear base coat. Once dry, paint the tips of your nails with white polish in a classic French manicure style. On the white tips, use a small dotting tool or thin brush with blue polish to create small star shapes. Finish with a top coat.
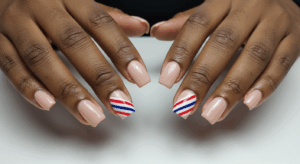
- Striped Accent Nail:
- How to: Paint all your nails with a solid base color (e.g., blue or white). On your ring finger (or any finger you prefer), use thin nail art striping tape to create vertical or horizontal stripes. Paint the spaces between the tape with alternating red and white polish. Once dry, carefully remove the tape and seal all nails with a top coat.
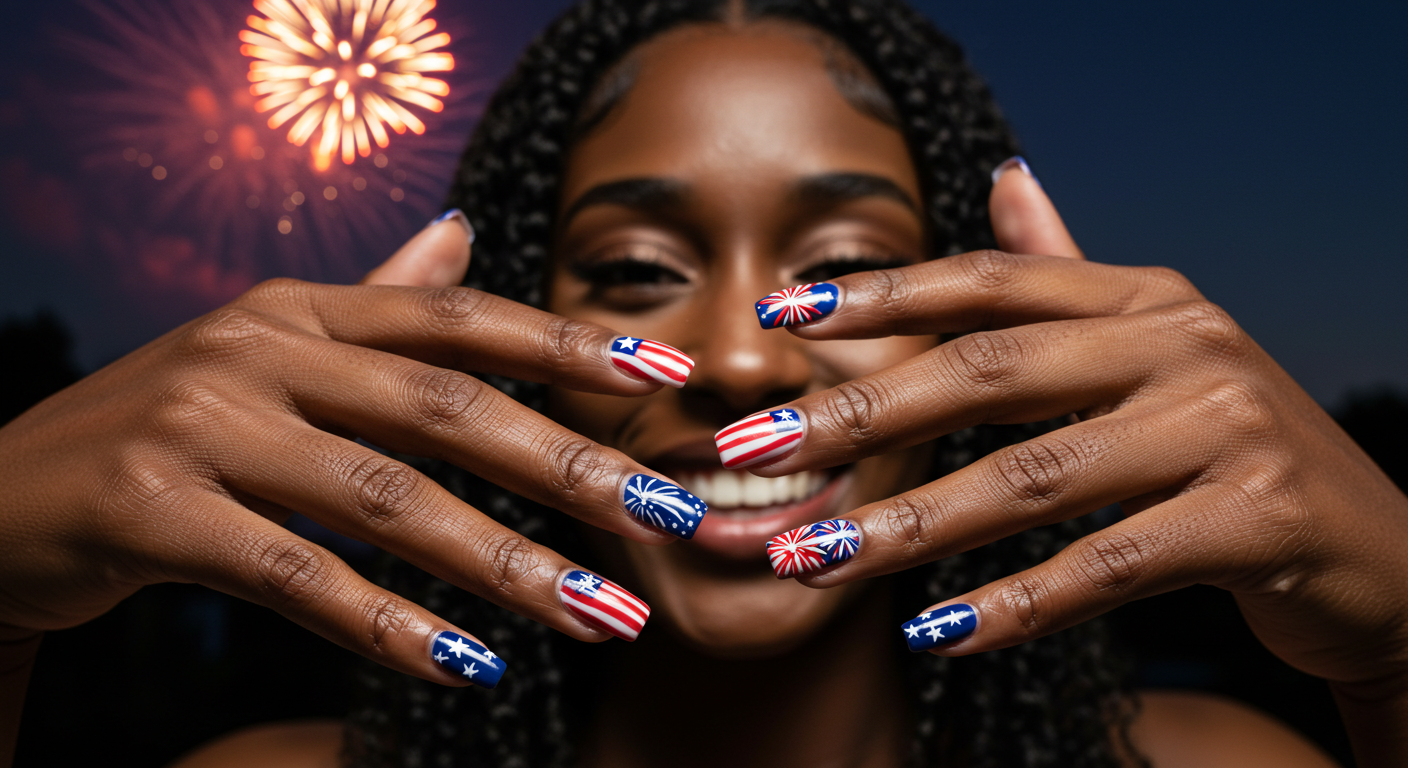
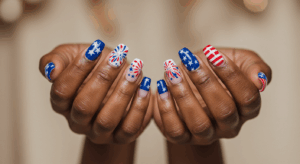
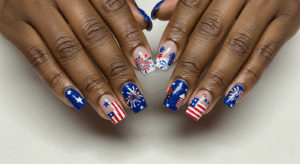
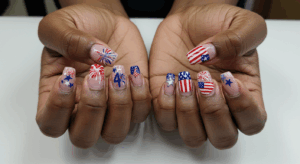
- Firework Burst:
- How to: Apply a dark blue or black base coat. Using a thin nail art brush and silver or white polish, draw lines radiating outwards from a central point on your nail, mimicking the look of fireworks exploding. You can make some lines longer than others for a more realistic effect. Add small dots at the end of some lines for extra sparkle. Finish with a top coat.
- Patriotic Half Moons:
- How to: Apply a base coat. Using reinforcement stickers (like those for binder holes) or nail vinyls, cover the half-moon area at the base of your nails. Paint the rest of your nail with red or blue polish. Once dry, carefully remove the stickers toreveal the unpainted half-moon. You can then paint the half-moon area with a contrasting color like white. Finish with a top coat.
- Nail Vinyl Examples:Nail Art Stencils Vinyls
- Subtle Sparkle:
- How to: For a more understated look, paint your nails with a solid red, white, or blue color. Once dry, apply a coat of glitter top coat in a coordinating shade (e.g., silver glitter on blue, red glitter on white). This adds a touch of festive sparkle without being overly elaborate.
- Glitter Top Coat Examples: ILNP Juliette – Red Holographic Flakie Nail Polish, KBShimmer Clearly on Top Quick Dry , Top Coat with Suspended Holographic Flakies
Tips for Perfect DIY Nail Art:
- Prep Your Nails: Start with clean, filed, and buffed nails for a smooth canvas.
- Apply Thin Coats: Multiple thin coats of polish are better than one thick, gloopy coat.
- Let Each Coat Dry: Ensure each coat of polish is completely dry before applying the next to prevent smudging.
- Clean Up Mistakes: Keep a small brush dipped in nail polish remover handy to clean up any edges or mistakes.
- Be Patient: Nail art takes practice, so don’t get discouraged if your first attempt isn’t perfect.
- Seal with Top Coat: A good top coat will protect your design and make it last longer.
This Fourth of July, let your creativity shine through your fingertips! With these fun and festive nail art ideas and readily available supplies from Amazon, you’re all set to create a manicure that truly celebrates the spirit of independence. Happy painting!